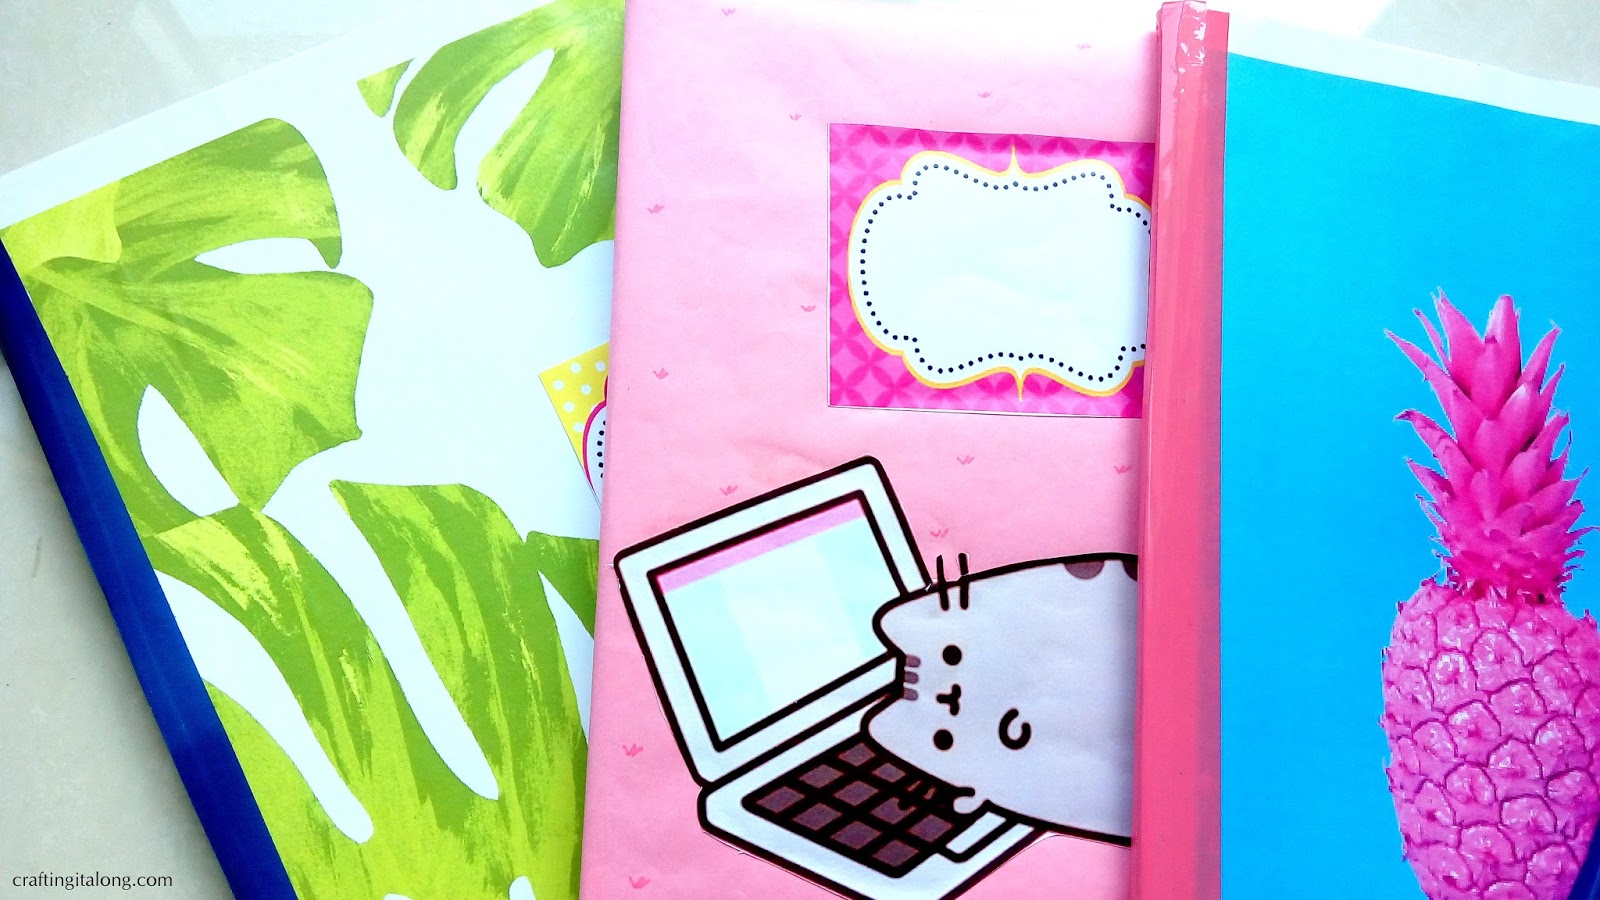
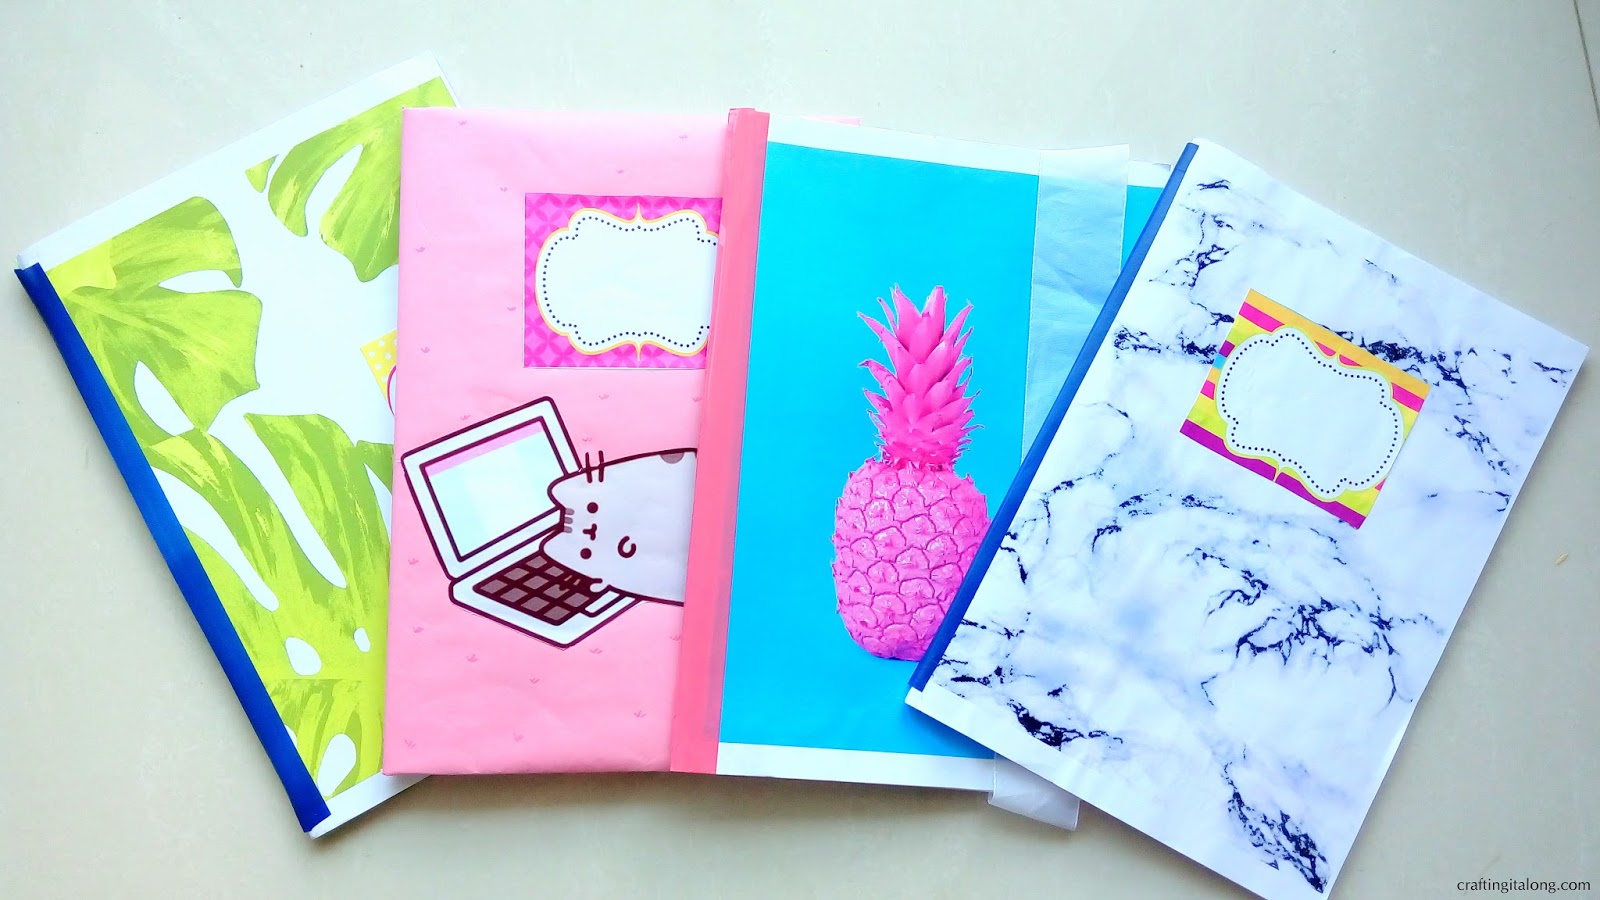
Are you bored of the same notebooks that you have to bring to school. Your friends may also be having the same notebooks as your. Customise your notebooks with this easy DIY and the way to customise this is all your choice, which colour to choose, which pattern to use and much more stuff totally depends on your taste. So lets learn how you can customise your notebooks.
SUPPLIES:
1.Notebooks
2.Print outs for the books
3.Chart paper or any coloured paper
4.Glue and Scissors
5.Coloured Tape
6.Labels
METHOD:
1.Remove the outer layer of the cover.
MARBLE NOTEBOOK:
SUPPLIES:
1.Notebook
2.Marble printout in A4 size (size depends on the notebook)
3.White paper
4.Glue
5.Tape
6.Label
METHOD:
1.Cover the front of the book with the marble printout and the back side of the book with white paper and use glue to stick it.
2.Use tape to cover the side of the book as shown.
DONE!
PINEAPPLE BOOK:
I am obsessed with pineapples so I thought of making a pineapple book cover.
SUPPLIES:
1.Notebook
2.Pineapple print out
3.Tape
4.Ribbon
METHOD:
1.Remove the outer layer of the book same step is to be followed here.
2.Stick the print out in the front and any coloured paper at the back with glue.
Use tape to cover the sides.
3.To make the book a little fancy use ribbon of any colour I used white coloured ribbon and stick one end of the ribbon at the back cover of the book.
4.Measure how much ribbon the book will require and leave some extra and cut the ribbon.
Taking the ribbon from the front portion of the book and stick the ribbon to the back with tape or glue covering the entire front of the book.
Similarly I made more customised note books. The method remains the same.

Back to School DIY


0 comments:
Post a Comment